
Assets Tab Overview
The Assets tab has been designed to be your organizational hub, helping you streamline your workflows and enhance your collaboration experience.
Click below for a short, guided video tour of the new Assets tab interface.
For a detailed, feature-by-feature walkthrough of the Assets tab in it's entirety, visit our Assets Tab Onboarding page, located here.
Within the Assets tab itself, there are five areas/elements to make note of:
- Top Bar (blue)
- Folder Browser (red)
- Asset Viewer (yellow)
- Information and Settings Panel (green)
- Persistent Player (to follow below)

Top Bar
On the left side of the Top bar is the side navigation lock, that lets you fix the Assets tab panel to always be open, or set it back to allow you to navigate elsewhere.

On the right side, you can check your connectivity status to get insights into your playback capabilities.
You'll also find our Help button, which contains our full, searchable knowledge base and gives you the ability to reach out to support without having to leave the app.

Folder Browser
Next is the Folder Browser on the left. The Folders tab lets you navigate through all of the groups, projects, and folders that you've been added to. The folder system is similar to what can be found in the macOS Finder, or Explorer in Windows.

Anything that's listed here can be selected and will affect what's displayed in the center viewer panel. Choosing the project, for instance, will show you all the top-level folders in it, and the information panel will give you details about the project. You can also hide the Folder Browser by clicking the Folder icon at the top, giving you more screen space to work with.
Asset Viewer
The Asset Viewer takes center stage, occupying the entire center panel. If we select a folder on the left, Thumbnails for all the assets uploaded to this folder will be displayed, as well as any sub folders found within it.

Each asset comes with a menu of additional options, accessible through a vertically-aligned ellipsis, and will change depending on your permission level.
You'll also notice a number of icons at the top, which grant you access to various functionalities, which again are also dependant on your permissions.

From left to right:
- Folder Name (highlighted in purple): This is the name of the folder you're currently in. Note that clicking on this name will copy that folder path to your clipboard, which can be pasted elsewhere for reference
- Upload (highlighted in dark blue): This is a shortcut to the Transfer Tab -> Uploading section, which will allow you to upload files to the folder in question
- Add Folder (highlighted in green): This will allow you to add a new subfolder to this folder
- Batch & Sort Options (highlighted in yellow): These two icons will allow you to re-batch by any metadata point you like, and then sort those batches alphabetically in ascending or descending order (more here)
- Asset Sort Options (highlighted in light blue): These two icons will allow you to sort files within the batches in either ascending or descending order, by name or by date uploaded (more here)
- Expand/Collapse (highlighted in orange): This allows you to expand all batches or collapse all batches
- Change View (highlighted in red): This allows you to toggle between the two thumbnail views or list view (more on these here)
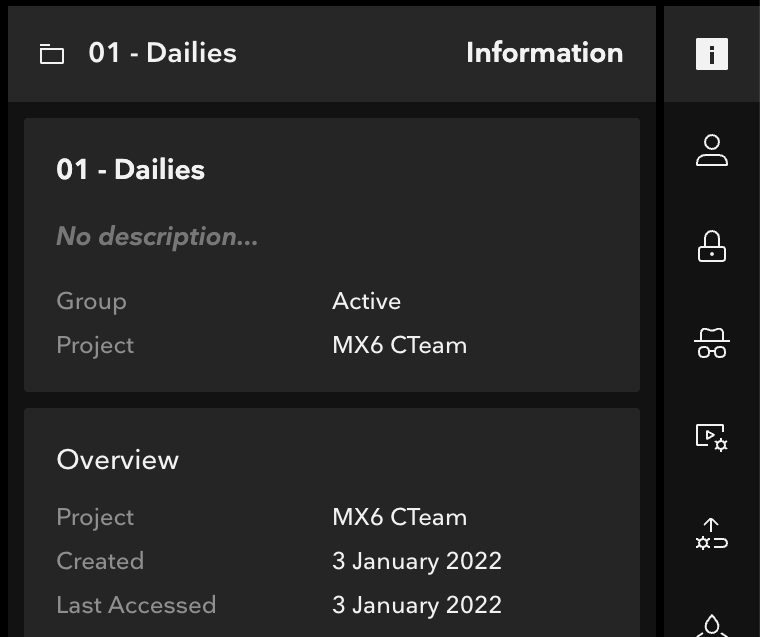
Information & Settings Panel
The Information panel can be found on the right-hand side. It can be expanded to allow you to view or change what you need, and then collapsed to provide more real estate for the center asset viewer.
Your folder and project settings can also be found in this panel, and will change based on your permission set, as well as what you have selected on the left or in the middle.
Persistent Player
Clicking on an asset thumbnail opens up our persistent player, allowing you to review and comment on assets seamlessly without leaving the Assets Tab.
__