
Watermarking
Flow Capture allows you to create watermarks that can be overlaid on any video or photo assets, as well as PDFs. These watermarks are also burnt into nearly any kind of video or image asset that you choose to make available for download or iOS offlining.
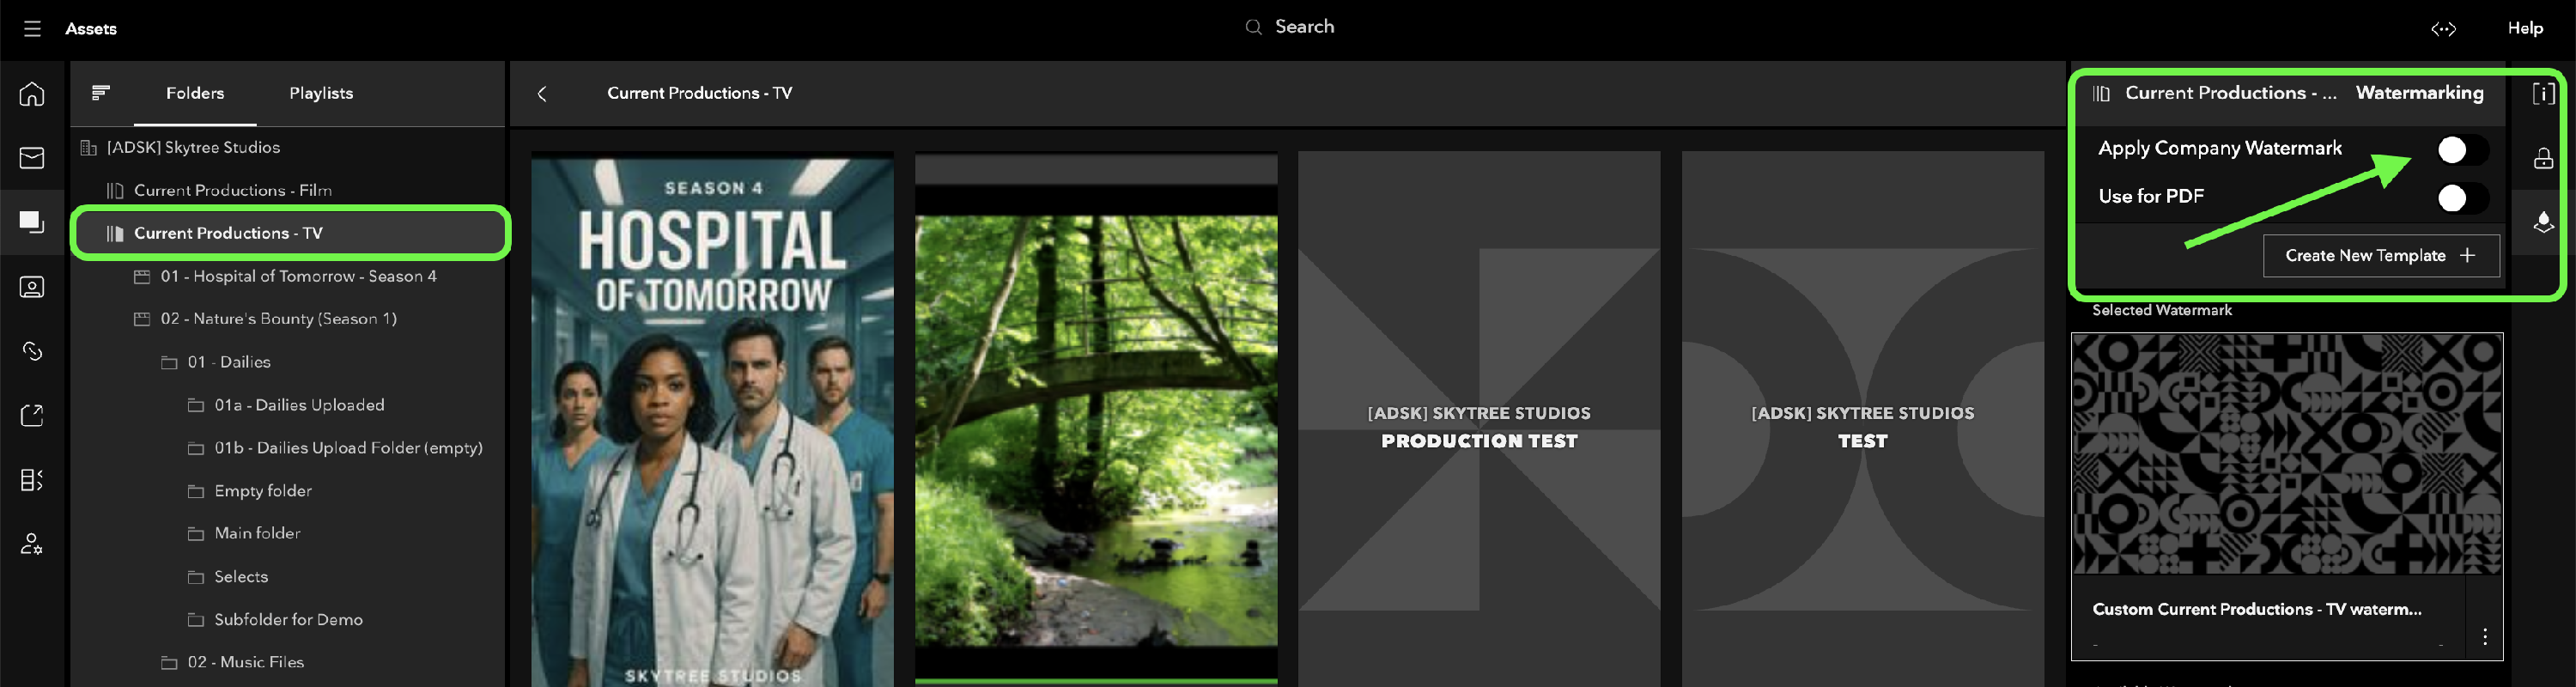
If you have Admin permissions at any level, you can change a watermark's appearance in the Folder Settings panel of the Assets tab by clicking on the Watermarking icon.

There are six ways you can watermark your assets, which are accessible at different levels within Flow Capture:
- Company Watermark - This is an overarching watermark that's only accessible by company admins. Created in your account settings, it's then applied to every Project and folder across the whole company.
- Group Watermark - This allows you to add a Watermark template at the Project Group level, which will apply to all Projects underneath it.
- Project Watermark - Set at the level of an individual creative project, it allows a company watermark or a custom watermark to be applied to every folder you create.
- Folder Watermark - This allows you to overwrite any company or project watermark at the folder level by creating a new set one exclusively for that folder.
- No Watermark - Turns off watermarking completely (only available at the folder level).
- Playlink Watermark - This allows the user to add a specific watermark template that is only applicable to that Playlink
- Share Watermark - This is similar to a Playlink watermark, but applies to an individual Share of a Playlist.
Flow Capture can also provide Forensic Watermarking for video. If you'd like that enabled for your Project or Company, please reach out to contact@moxion.io
Watermarking Options
The settings available for changing a watermark are always the same, no matter the level you're working at. There will always be an option to apply watermarking settings from previous level:

Below that you'll find an option to create a new watermark template as well as all previously created watermarks.
When you click the 'Create New Template' button, a Watermark settings page will pop-up allowing you to customize your new watermark. Above all of that is a toggle which lets you switch between dark and light preview images.

For each element, clicking the "Create" button will add it to that template:

The "Text" dropdown contains the different element types that can be added, and include all of the same elements that are available to be watermarked:

Note that if you choose any of the time or date options, they will display in UTC-0 for security purposes.
After making your selection, click Save to save the changes. Once a Watermark Template has been created, it will show up in your list of templates and can be edited, renamed, or deleted:

A Watermark Template can be apply to the entire project, a specific folder or at the playlink level!
Customizing Watermarks
You can customize a watermark by clicking 'Edit' from the 'More actions' menu. After you've done that, all these tools will be at your disposal for customization:

The first option at the top controls the alignment of the watermark, with options for Middle, Left and Right justification.
The Text Style option controls what the text of the watermark itself will look like:

On top that, there is a series of sliders and a toggle for the following option:
- Font Size - Sets the size of the type in the watermark.
- Opacity - Sets how much you can see through your watermark.
- X and Y Position - Sets the position of the watermark relative to the anchor point you've chosen to align against.
- Shrink to Fit - Will adjust the size of the watermark so that it doesn't overrun the borders of the asset itself.
- Rotation - A dropdown slider that allows you to put a spin on your watermark, angling it to any one of 360 degrees.
Company Watermarking
If you're a company admin, you can access Company Watermark setting by selecting your Company Name on the Desktop and clicking on the Waternark icon on your right-hand side:

From there, switch ON the toggle 'Enable Company Watermark'. The only difference between this and other settings panels are the two options at the top, in the Company Settings section. Everything else you use to create the actual watermark is the same whether you're making a project or folder watermark!
Group Watermarking
If you're a Company Admin, you can create and apply a watermark template at the Project Group level. To do so, you'll need to toggle "Apply Company Watermark" to OFF, then create or select a watermark template to apply.
Once you've done so, that template will be applied to all Projects under that group. This can be further adjusted on a Project or Folder basis as needed.
Project Watermarking
If you're a Company or Project Admin, you can access the project watermarking panel by selecting the Project on the Desktop tab and clicking on the Watermark icon on your right-hand side. That will open up the familiar watermark settings panel:

Watermarking Downloads
Flow Capture will try to watermark any video or image file that you request to download, but there are limits to what our system is able to process.
For video files, Flow Capture cannot watermark DNx/MXF or ProRes files due to encoding limitations. If you would like source files of these types to be watermarked, you will need to apply when you create before uploading to our platform. This same limitation applies to RAW still image files.
PDF Watermarking
Applying your watermark templates to your PDF uploads can be enabled/disabled based on your needs.
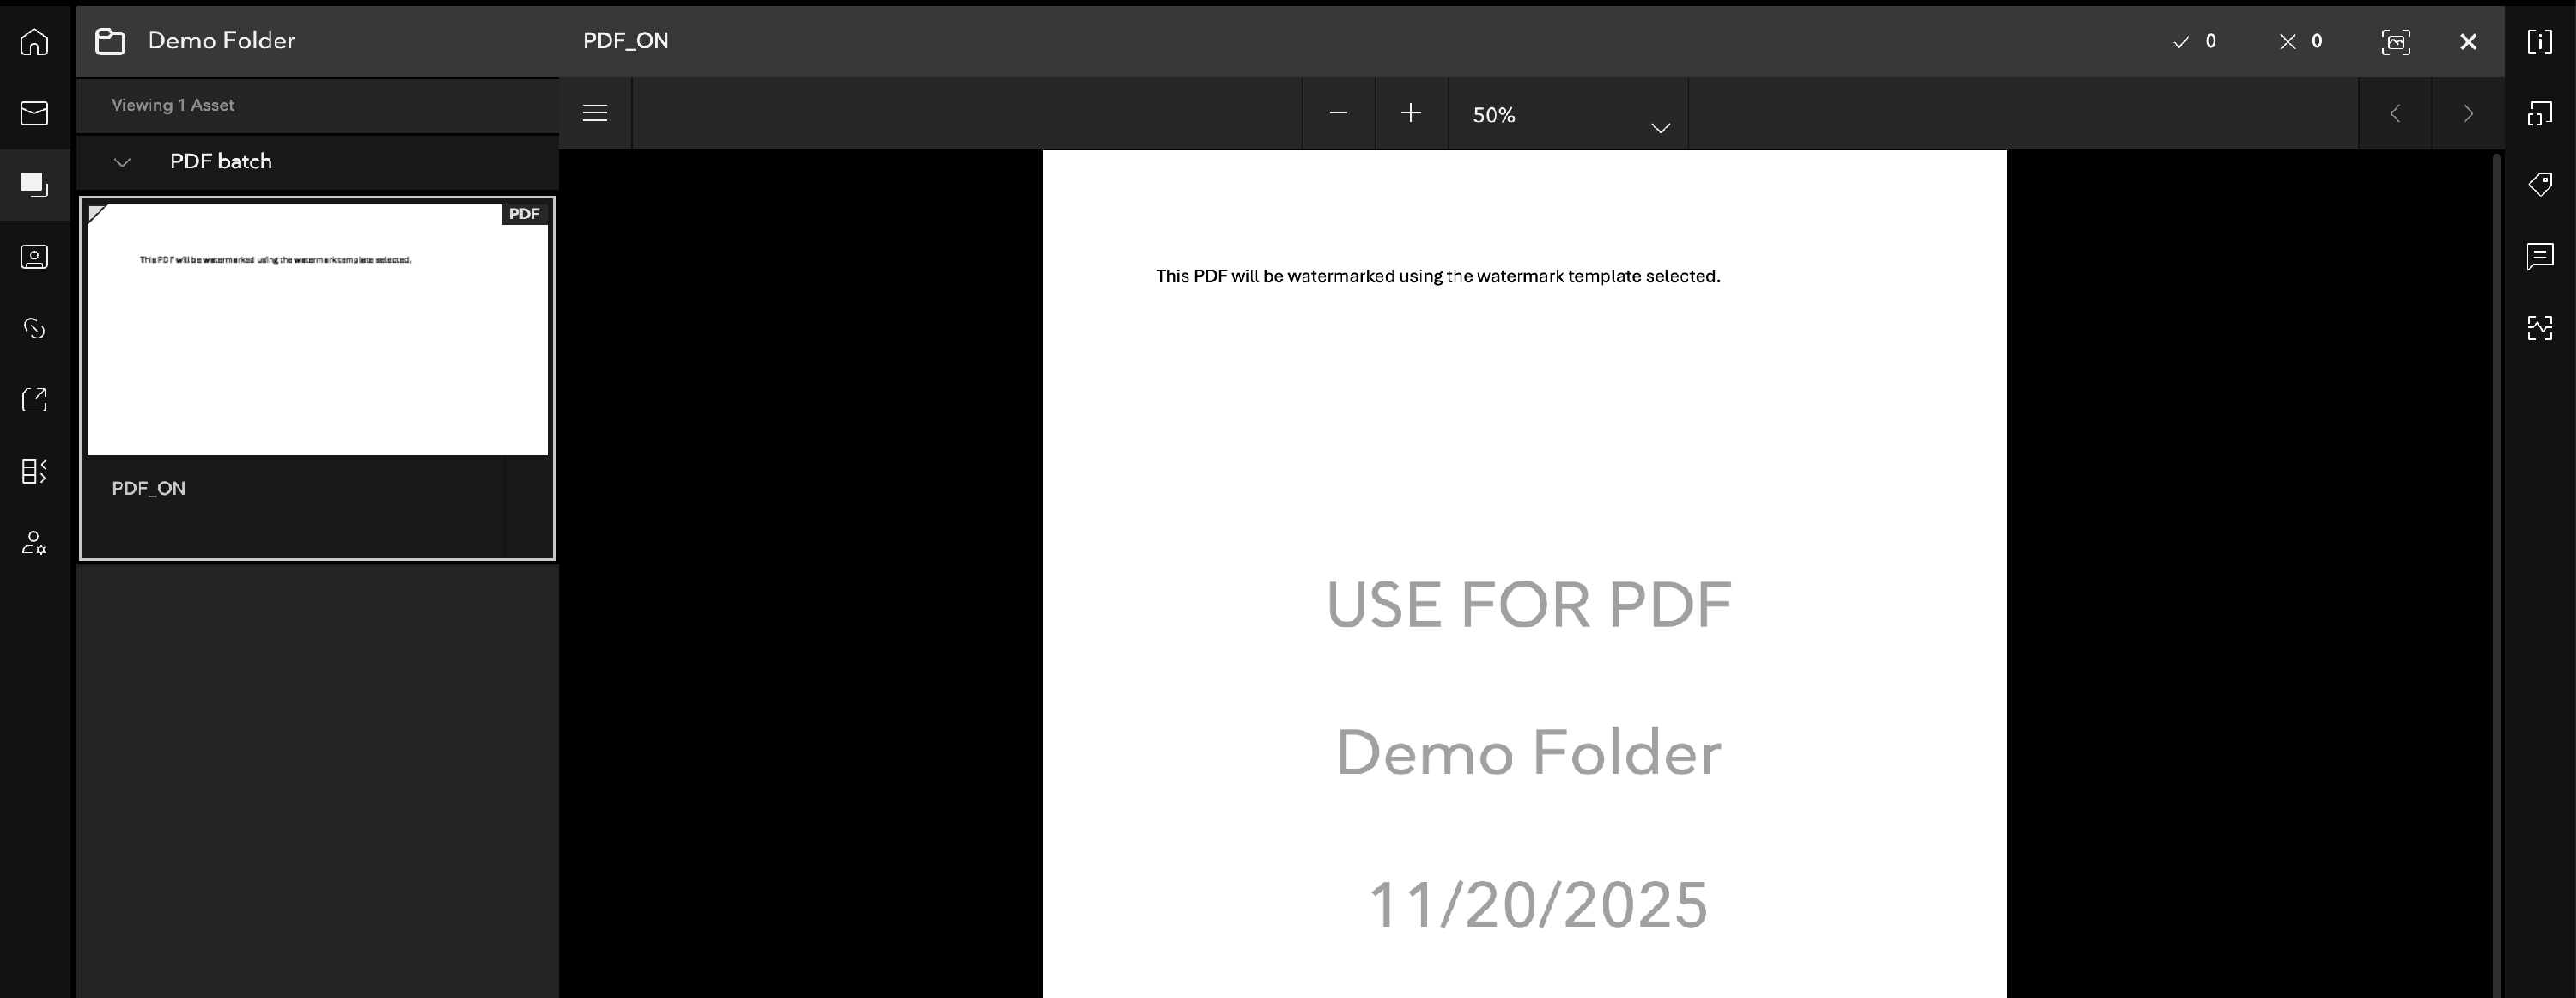
If you choose to enable this by toggling "Use for PDF" to ON, any watermark you have applied to the folder will be used for your PDFs.

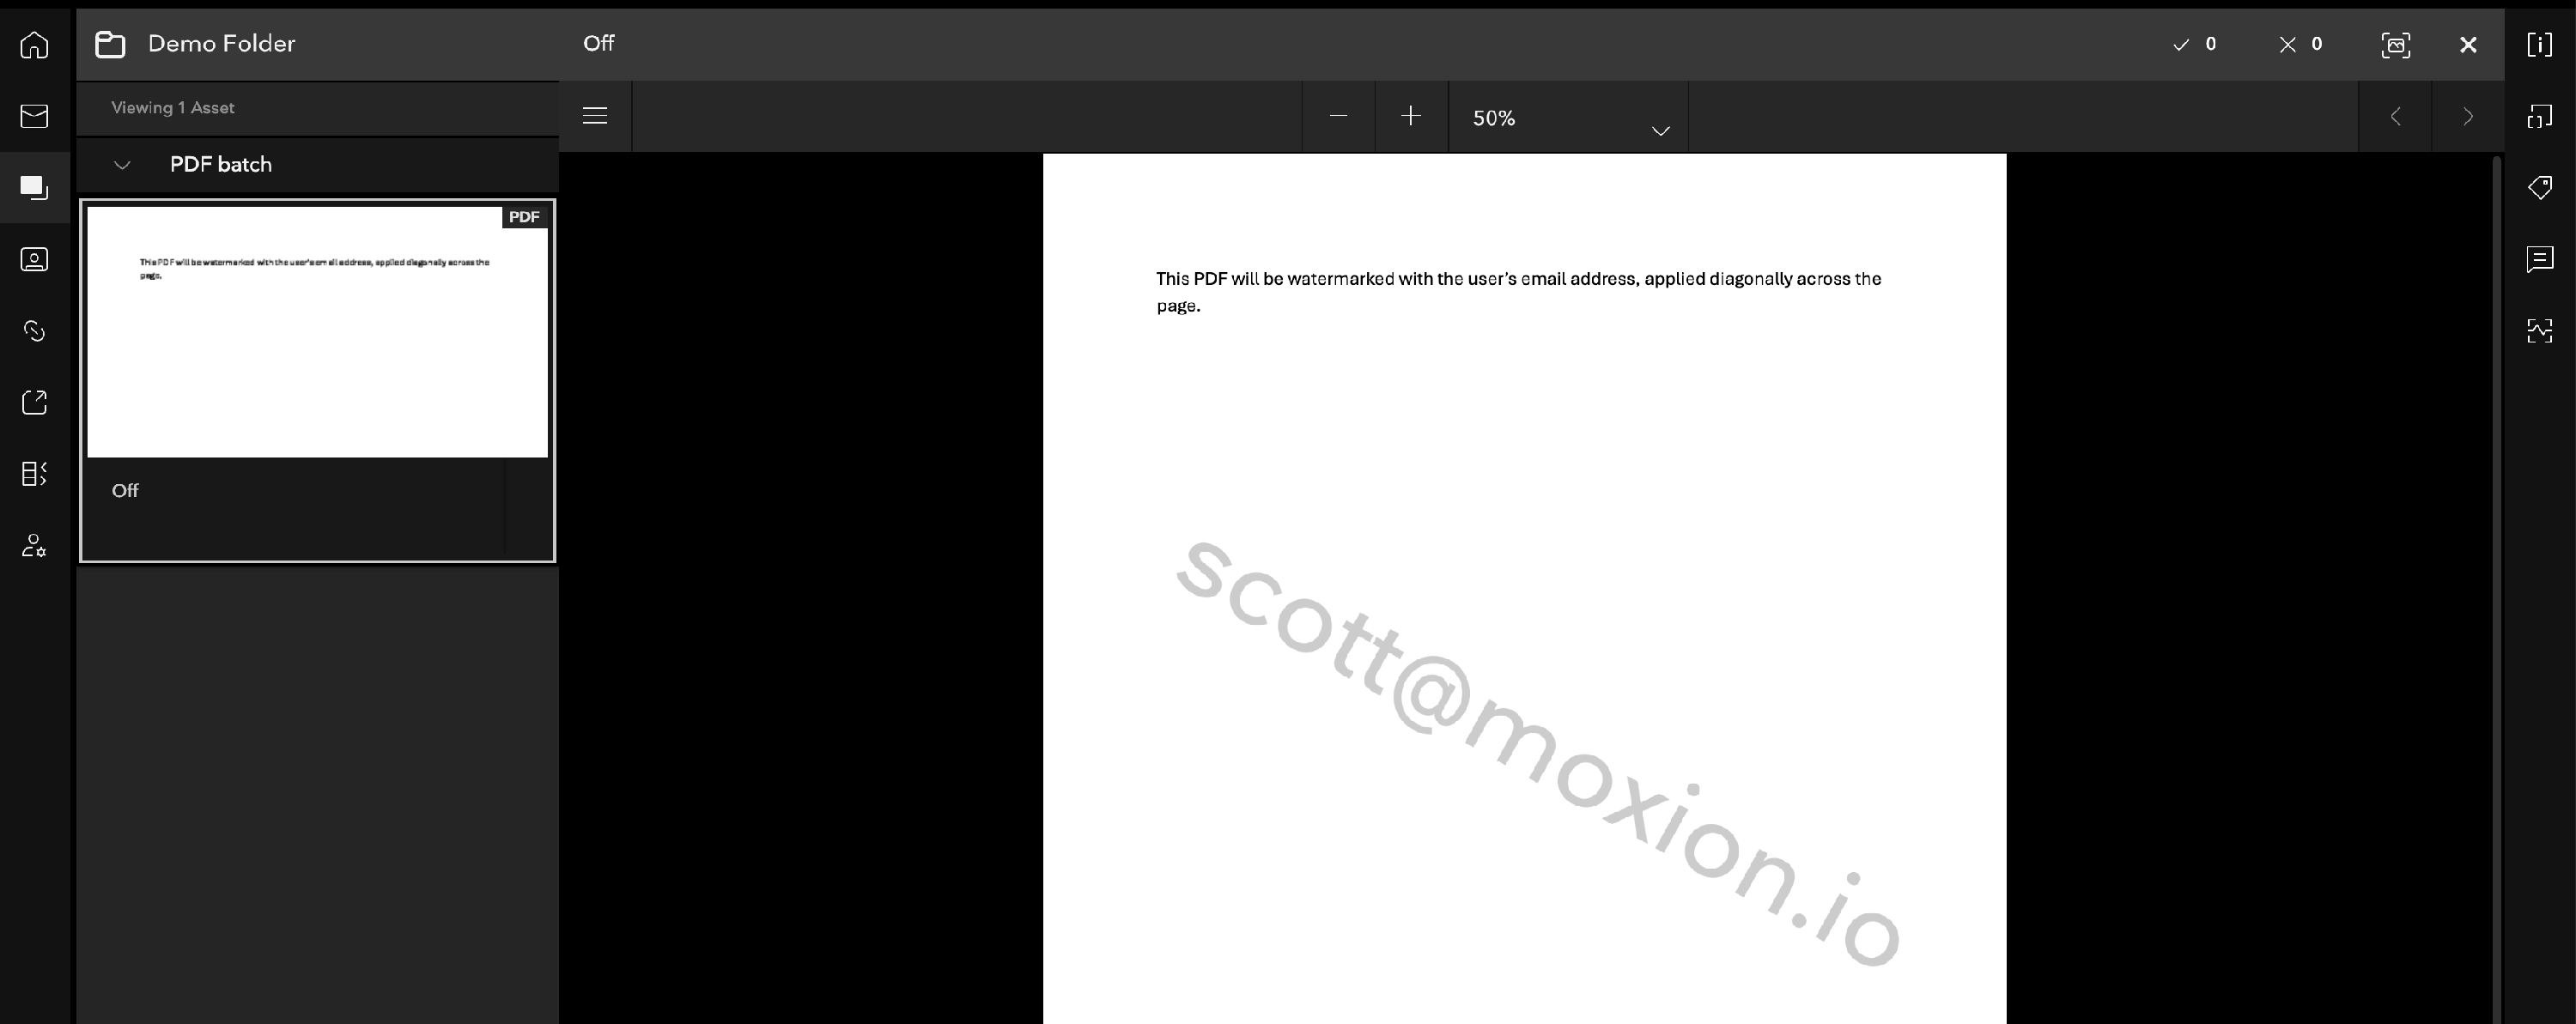
If you choose NOT to enable this by leaving the "Use for PDF" set to OFF, PDFs will be watermarked using only the user's email address, applied diagonally across the page.

When downloading watermarked PDFs, our security and data protection may give you a "request for a password" in order to unlock that document for printing or sharing.
If you'd like to turn that protection off, allowing watermarked PDFs to be shared and printed without requiring a password, please reach out to support@moxion.io.
Metadata Watermarking
You can also add watermarks to your assets based on the metadata that's attached to them. To start, choose the Custom Text option from the top of the dropdown menu options. Type in the following:
{META.}
Between the period and closing brace, add in the piece of metadata you want displayed, using lower-case characters and underscores for spaces. For example:
{META.scene}
or
{META.shutter_angle}
Any of the metadata fields listed in the Metadata Panel can be added, from aspect ratio to white point, so get as detailed as you need to - you can also have multiple metadata tags within one watermark!

Playlink Watermarking
When creating and sending a Playlink, the assets will be watermarked based on the folders settings by default. If you wish to apply a different watermark specifically for a single Playlink, you can do so in one of two ways.
The first way is to create a watermark template with the elements of the watermark you wish to add to the Playlink, and then select that template to apply it. For more on creating a Watmermark Template, please review our help doc here: Watermark Templates
Once you do so, when creating the Playlink, you'll have the option to use the default watermark, or you can select the watermark template that you created:

The second way to create a Playlink-specific watermark is to do so "on the fly." In order to do that, select the 3 vertical dots next to the watermark preview, and click "Create Override."

You'll then have the ability to create a new watermark using the same interface as above. Once done, click Save, and the watermark will update to this newly created watermark.
Note: it will be given a default name, but that can be changed by clicking the pencil icon, updating the name, and clicking Save.

Playlist Share Watermarking
When creating a Share of a Playlist, the options for configuration will be very similar to those of a Playlink, including the ability to select a watermark template to be applied to that Share.


If no watermark template is selected, each asset will be watermarked based on the folder-level watermark settings where it lives.